Gray Water Install
| In this March 2011 project I am installing a Gray Water sytem | |
| West Marine sells these tanks: Heavy-duty Todd holding tanks can handle tough jobs! 1/4″ Wall Standard Tank, 8″ x 12″ x 16″, 6gal. West #9445263 Todd #85-1531WH Manufactured from SURPASS® polyethylene, these tanks meet or exceed USCG (Type III CFR 177.1520) requirements. Standard Tanks feature a multiple port arrangement that enables use as a sanitation holding tank or for potable water storage. They include two 1-1/2″ fill/drain ports and two 1/2″ vent/supply ports. |
In the thru-hull project I mentioned that I removed and re-fiberglassed the sink drain holes. My thought process is, the fewer holes in your boat the better! Here I show the where and how of this Gray Water system install. |
| A line drawing of the system will go | The galley and head sinks are now plumbed into 6 gal holding tanks located below each sink. I used 1-1/2″ flexible bilge hose to connect the sinks to the tanks and the tanks to the pump out system. The two tanks are connected to a y-valve: Sea-Lect Diverter Valve, Flush Mount, 1-1/2″ Hose Dia. WM#540898 SL#M-95 in the cockpit lazerette. The y-valve is then connected to a manual bilge pump that was used for the old Black Water system. From the pump the Gray Water goes to the same outlet as the Black Water system. |
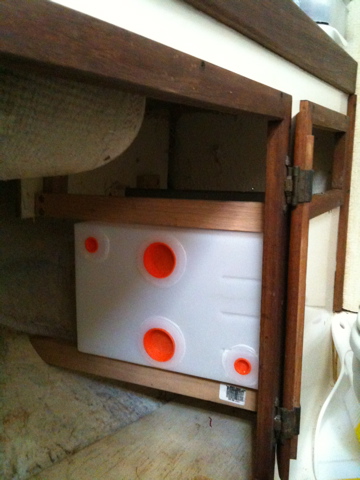 |
Here you see the head sink tank in place. It is located aft of the sink in the head cabinet. You can see the under side of the tank in the upper left corner. There is a vertical board in the back that the drawer track in attached to. I used this to attach my upper oak boards to. The lower forward oak board is tappered on the hull side to just rest against the hull, the other end is screwed to the cabinet wall. The lower aft board is the same arrangement. |
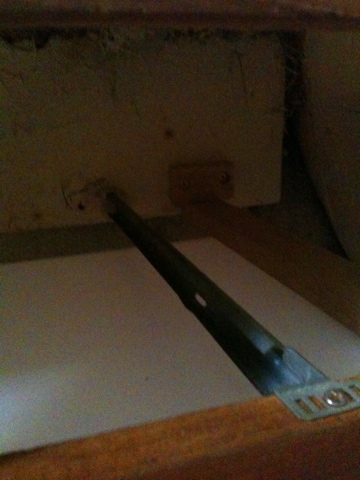 |
Here you can see drawer track and the upper aft oak board used to keep the tank from moving up. |
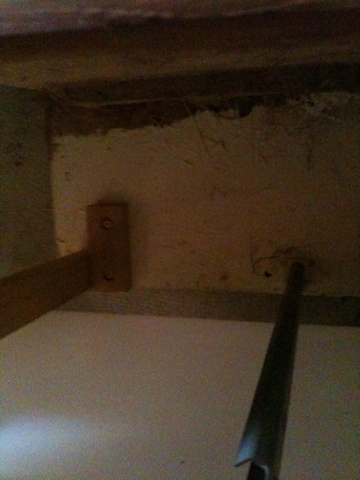 |
Here you can see the upper foreward oak board and the vertical board everything is attached to. |
 |
Here is the tank strapped in and fittings in place. I seem to be missing a photo of the finished system. |
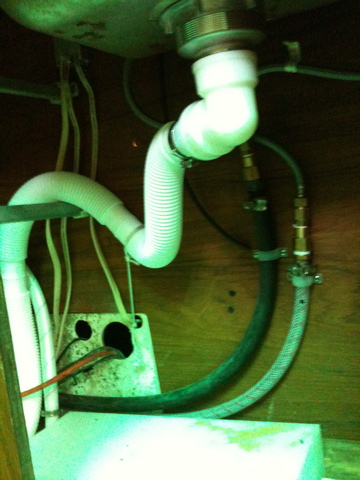 |
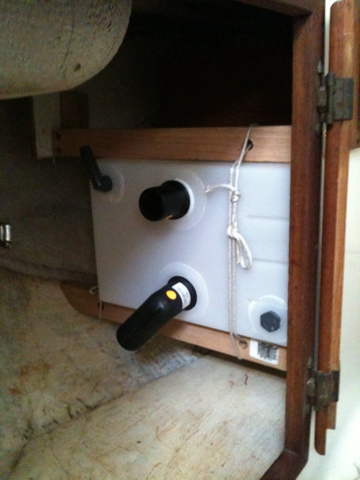
Here is a photo of the galley sink gray water tank in place and plumbed. I removed the plywood cabinet bottom and cut a hole for the tank to fit down into the space below. I had to 5200 oak boards to make the tank sit level on the bottom of the hull. You can see the hot and cold water lines going to the faucet, and the drain line going from the sink drain to the tank. I attached a line to force a U in the drain line to keep the smell of the tank from escaping through the sink drain. |
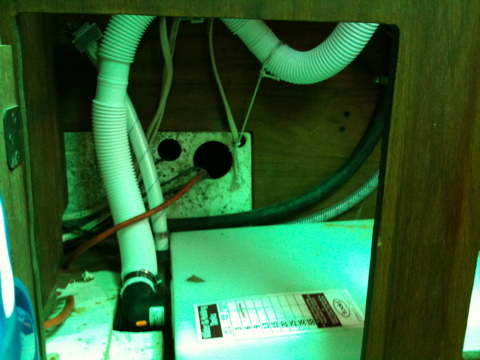 |
Here is a photo of the fittings end of the tank. The big hole in the back wall is where the old drain line went into the forward compartment to the original thru hull and valve. |
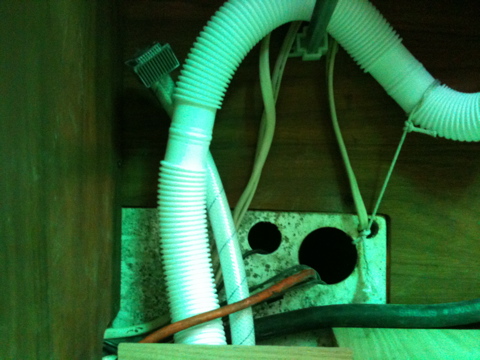 |
Here you can see the vent hose for the tank. I used a fish tank charcoal filter and a 5/8″ hose. The filter should keep the smell from the tank to a minimum. |
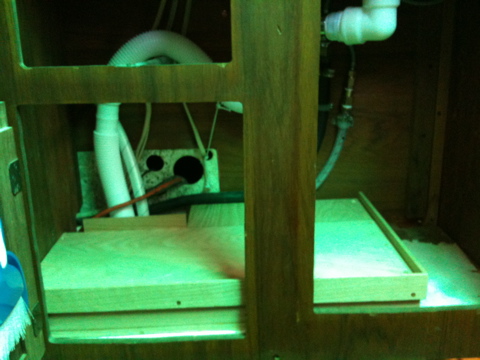 |
Here you can see the oak tank cover / shelf I built and the cabinet bottom put back in place. The cabinet floor was cut out to fit past the tank.
I will post photos of the Y-valve and pump out system later. |